Navigate The Art Tips Page
How to Send your Artwork
Digital Files
After you have placed your order, an option is provided to immediately upload your art files. If you don't have them handy, you can also reply directly to the confirmation email you receive and attach your art file, or use the convenient secure upload link inside the mail. This ensures we match your artwork perfectly to your specific order.
Forgot To Send Your File?
Do not worry! Simply wait for one of our friendly Customer Care Representatives to reach out to you promptly after your order is placed. You can easily email your files directly to them at that point.
Send Special Instructions
There is a box for special instructions on our checkout and info forms. Feel free to provide any information you think we need. Remember, artwork preparation is FREE and you'll receive a detailed digital mockup for your approval before production starts!
Accepted File Types
Note: Simply changing the file extension name to a vector format (e.g. renaming .jpg to .eps) will not convert it into a vector graphic. The source files must be built as vectors.
We can work with almost anything: emailed files, hard copies, or high-res images. To keep your order moving as fast as possible, we highly prefer vector file formats.
Preferred Vector Formats
-
PDF (Adobe Acrobat)
Embed all fonts used or export layout as a generic high-res PDF/X.
-
AI or EPS (Adobe Illustrator)
Convert all text/type to outlines and embed any linked images.
-
CDR (Corel Draw)
Convert all text to curves before saving and sending.
Other Accepted File Types
-
DOC, PPT or PUB (Microsoft Office)
Embed or include the specific font family files with your documents.
-
Bitmaps & Images (.jpg, .tif, .gif, .png, .bmp)
Provide the highest resolution image files available (300dpi+ preferred).
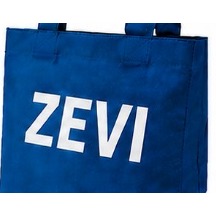
Premium Imprint Types
Zevi Promotions uses state-of-the-art branding technologies to customize your items. Here are the 12 premium imprint methods we offer, complete with real production-grade Zevi product examples:

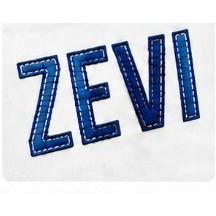
Embroidery
Computerized sewing machines stitch the imprint onto item.

Screenprint
Ink is pressed through a screen onto the item's surface.
Heat Transfer
Heat is used to thermally bond imprint onto the item's surface.
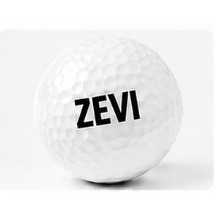
Pad Print
Imprint is transferred to the item via an inked flexible pad.
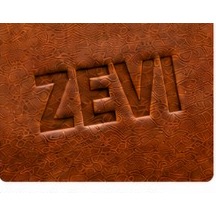
Deboss
Imprint is depressed into the item's surface.
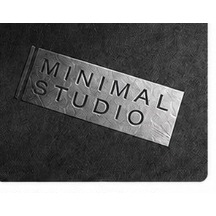
Emboss
Imprint is raised onto the item's surface.
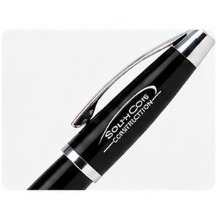
Laser Engraved
Imprint is etched into the item via a laser.
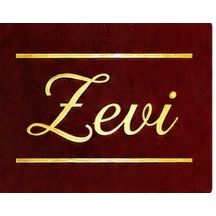
Foil Stamp
Metallic foil resins are applied to the item's surface.
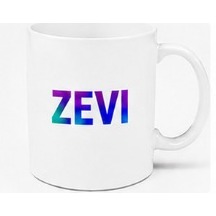
Full Color
Imprint is printed in CMYK allowing for the use of photos.
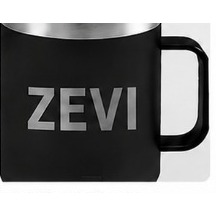
Deep Etch
Imprint is sandblasted, creating a deep frosted look.

Satin Etched
With use of acid on glass, this gives the imprint a frosted look.
Applique
Pieces of fabric are sewn into the item to form the imprint.
How to Convert Text to Outlines
If working in Adobe Illustrator or other vector graphics programs, you must convert all text and typography elements to outlines before submitting your artwork. This locks the design shapes so that the font does not get substituted on another computer, ensuring your brand elements render exactly as submitted.
To do this in Adobe Illustrator: Go to the top menus, click on Type, and select Create Outlines. Alternatively, select the text block using the Selection Tool and press Ctrl + Shift + O (⌘ + Shift + O on macOS). Save and send us the file.
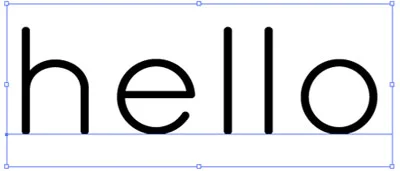
Before (Editable text block)

After (Converted to outlines/vector paths)